All Door-Kit products are manufactured to precise tolerances using materials that have a low moisture content. It is vital that this is maintained both during storage and installation. Deliveries should be organised to minimise storage on site.
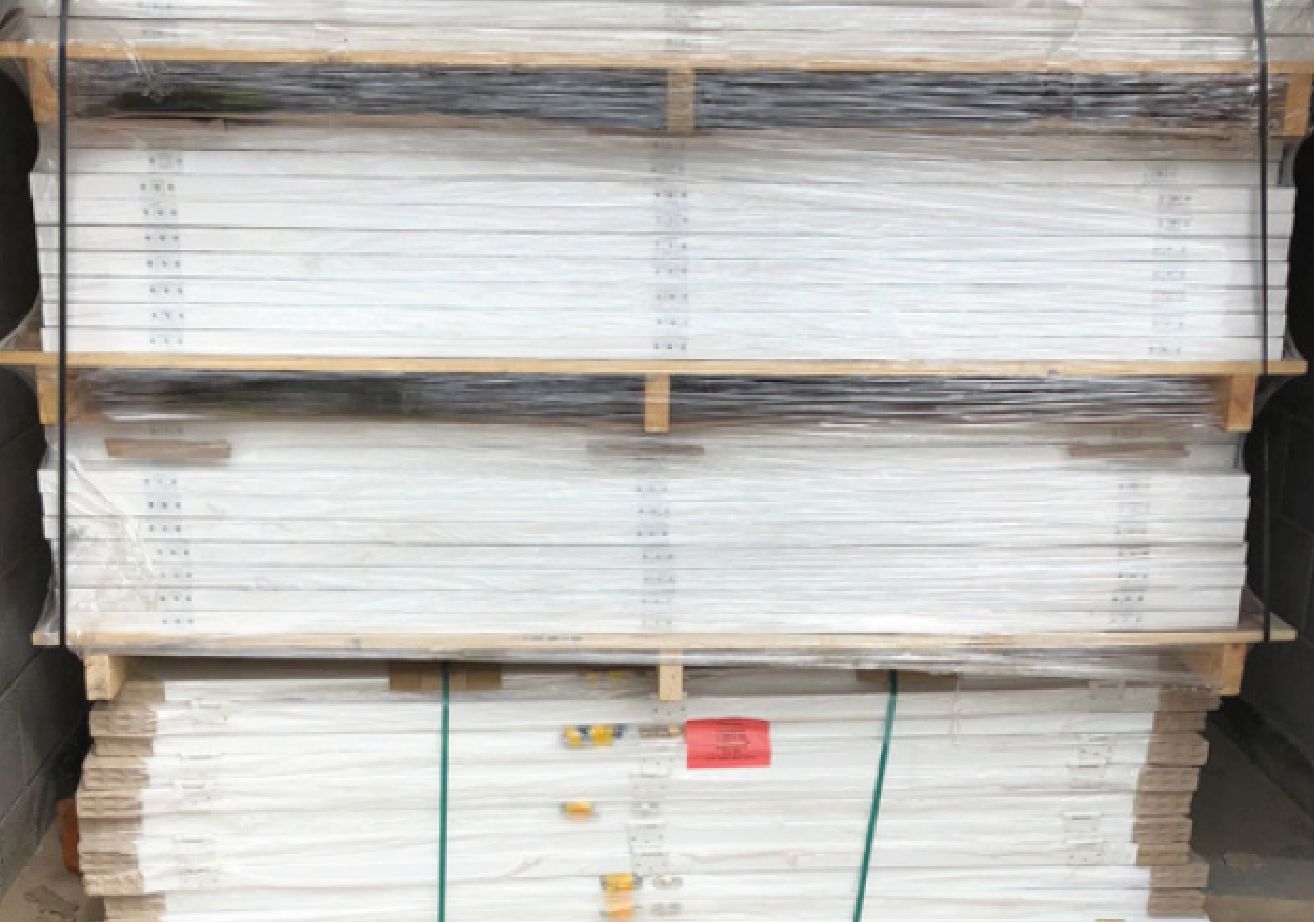
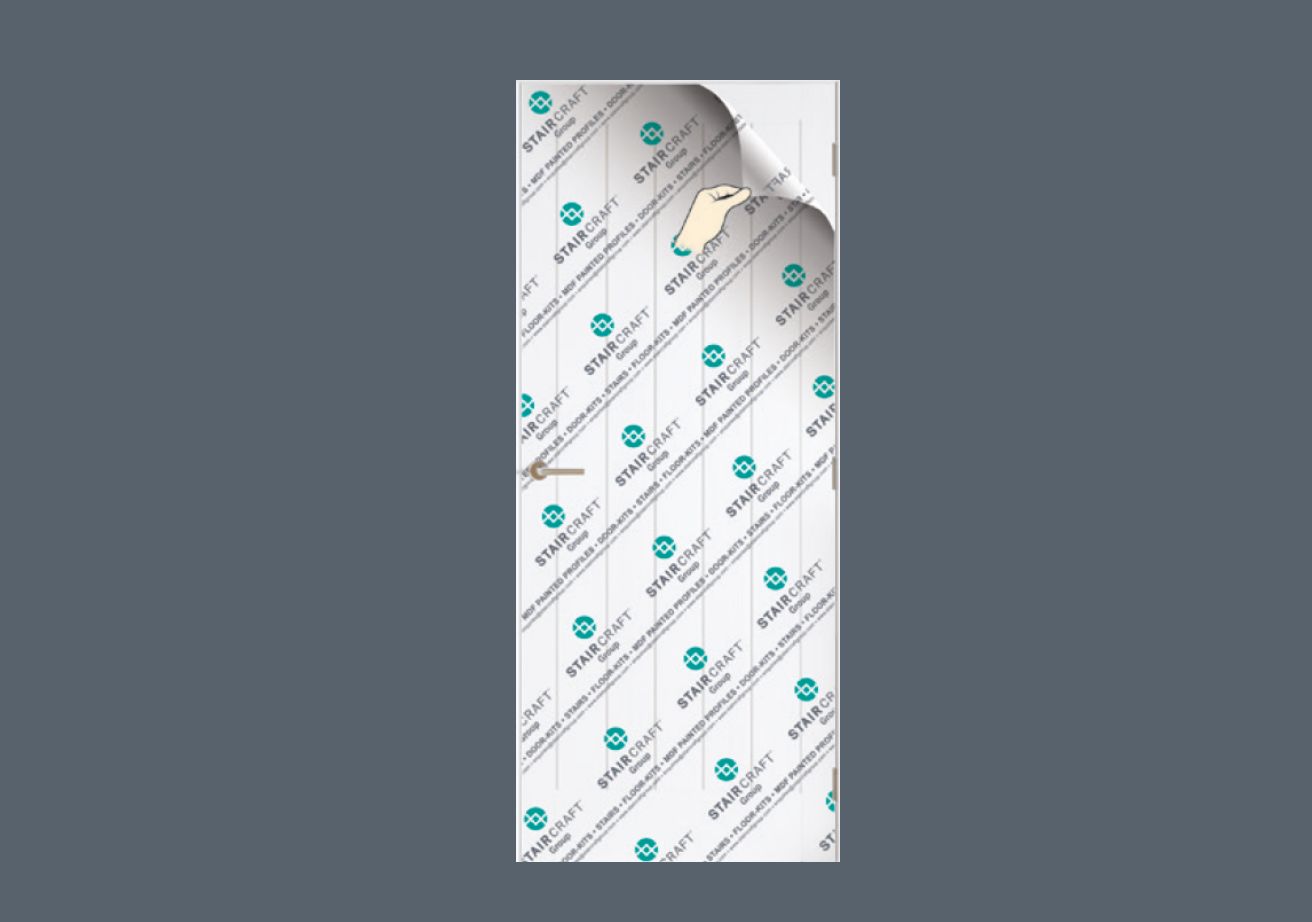
Both Linings and Doors should be kept in their protective packaging used for delivery and placed on a level surface clearof the floor. It is recommended that they are stored flat on the bearers supplied, in the water-tight plot where they are to be installed. At no point should the products be stored in an un-ventilated container or outside.
Always follow HSE manual handling guidance when moving or positioning Doors.
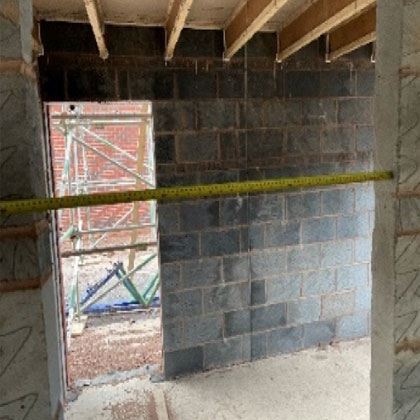
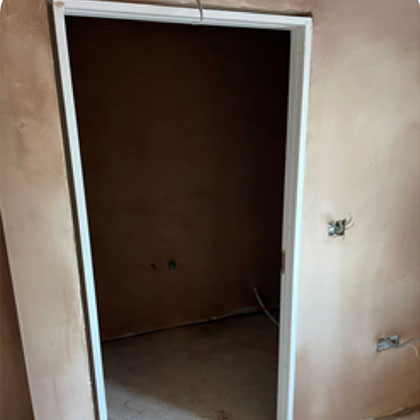
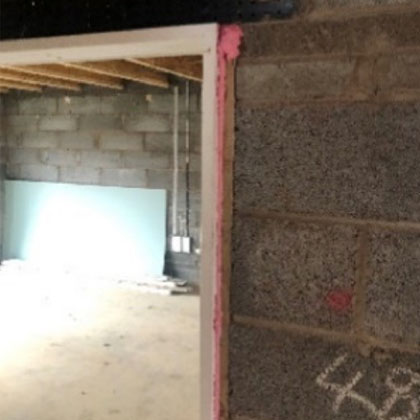
It is recommended you unwrap products 24 hours before fitting. Openings should be made 66mm larger than the width of the Door and 52mm larger than the height to allow for any packing and adjustments as needed. When fitting to a block wall it is recommended that a plywood sub-liner is installed prior to plastering. See table on back page for a list of opening sizes.
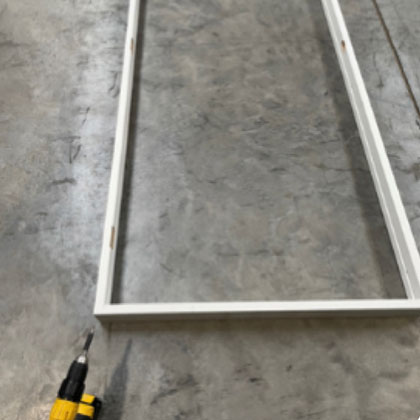
Place the Lining on a flat surface, keeping in mind the handing required. Screw the head to the jambs using 32mm long screws. Ensure that all parts are aligned. A battery drill is recommended.
Position the assembled frame into the opening ensuring that the hinge jamb is plumb first, then ensure both the head and latch jamb are also square and plumb. Temporarily fix using a minimum of 2 x 75mm long screws into each jamb.
Any slight gaps around Fire Door frames should be filled with mineral wool or intumescent mastic paste.
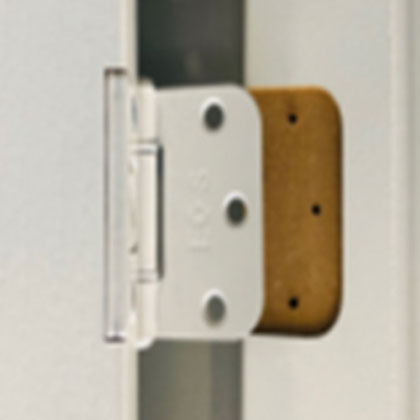
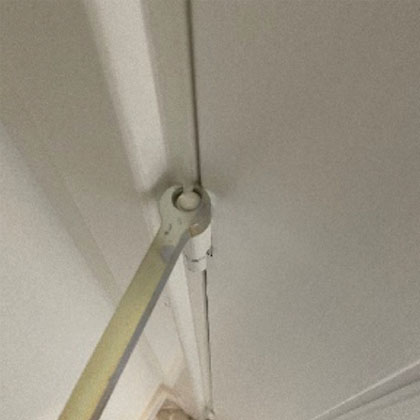
Our Doors are supplied with factory fixed hinges ready to hang, with hinge pockets pre-cut in the Linings to
eliminate the need to remove/re-fit the hinge during decoration.
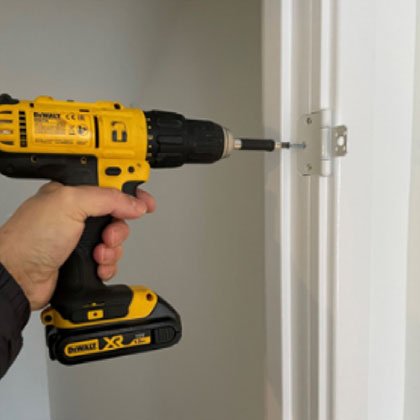
Install the male hinges onto the Lining using the pre-cut pockets on the jamb. Ensure the hinge is flush to the frame once installed. Under no circumstances should an impact driver be used when fixing the male part of the hinge to the frame, instead we would recommend a suitable battery drill with a variable torque setting.
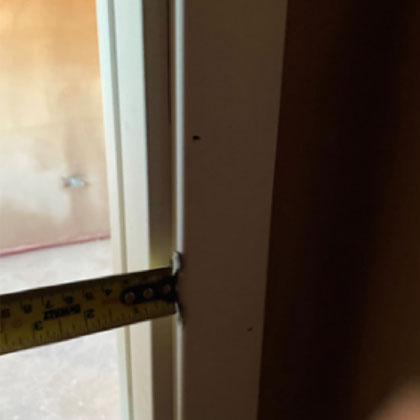
The architrave should be set back from the inside of the frame by a minimum of 12mm around the front face of the Lining – to allow for any adjustment with the cranking tool at final fix.
A cranking tool should only be used If there is an uneven gap between the Door and the Lining. Apply a small amount of pressure to both the top and bottom knuckle of each hinge to centre the Door in the frame. A consistent margin all around is desired. Any problems must be resolved at this stage to avoid complications.
Note: If a dummy Door is supplied, fit by removing the screws and adjusters from the female hinges, then slide the Door into place over the male hinges and re-fit the adjusters. Make sure to check the frame is still square and adjust as needed. Doors are susceptible to swelling, some minor sizing work to the dummy doors may be necessary.
Note: Doorstops are reversible and can be positioned according to the thickness of the Door (35mm or 44mm). All stops should be pinned and glued in place using 38mm long pins. Before installing Doorstops ensure the frame has been permanently fitted to the supporting walls using 75mm long screws at maximum 600mm centres. Doors should be hung at final fix stage. This reduces the risk of damage or swelling. Doors can be handed either way – to change the handing, remove the hinges and latch, rotate them 180 degrees then re-fit to the Doors.
All dimensions in Millimetres. These allow 10mm over ACTUAL frame dimensions.
All dimensions in Millimetres. These allow 10mm over ACTUAL frame dimensions.
Website design and build by Rawww.


