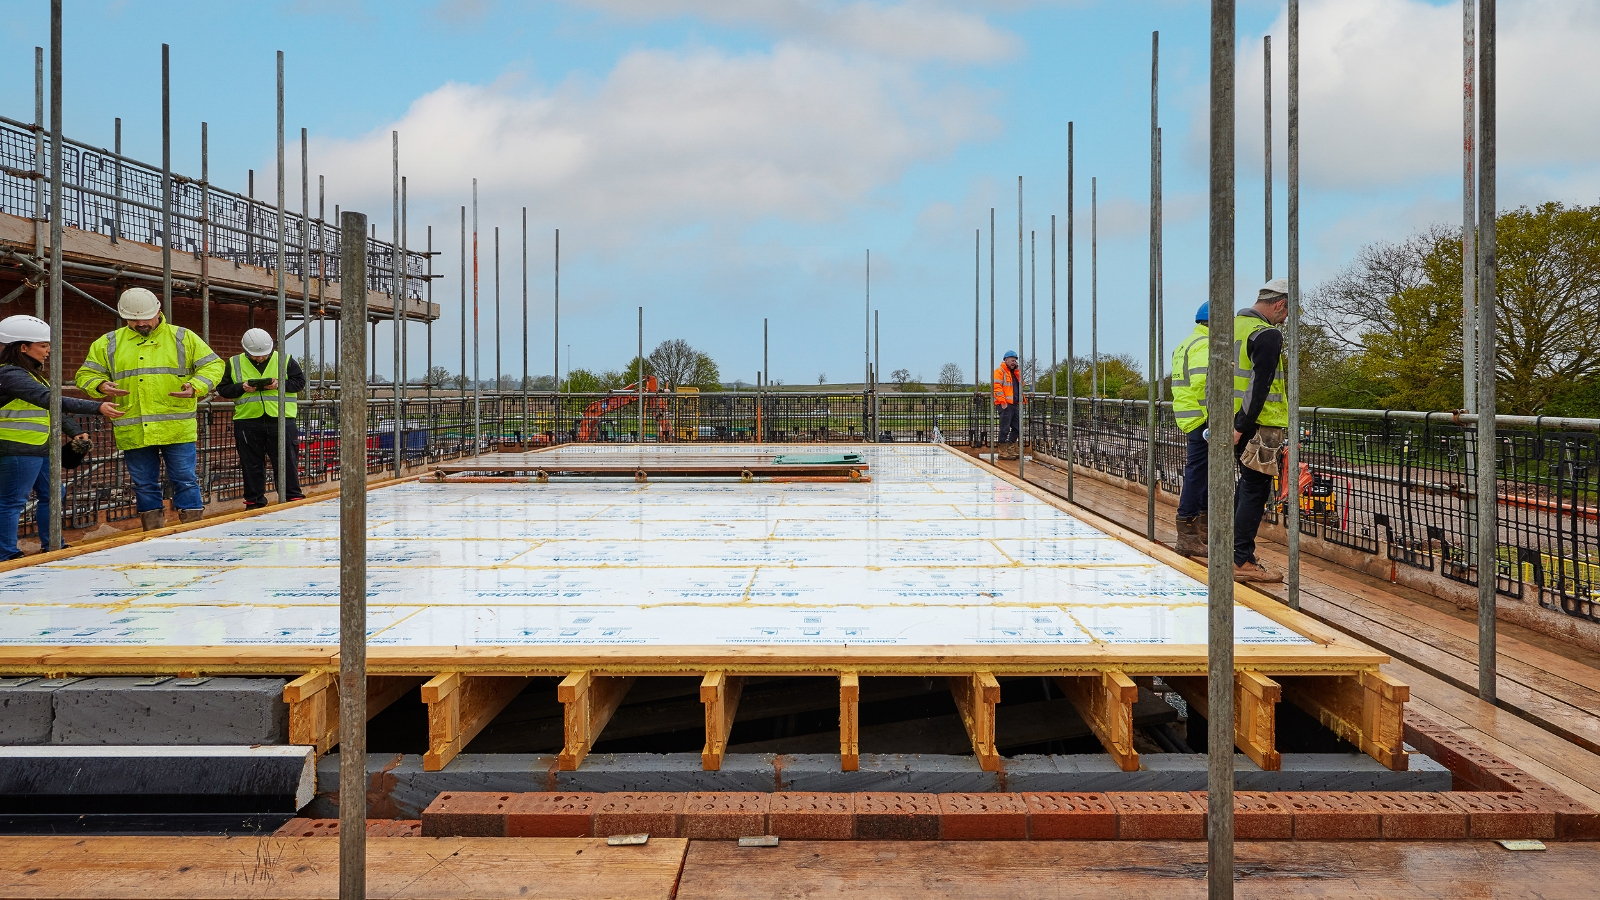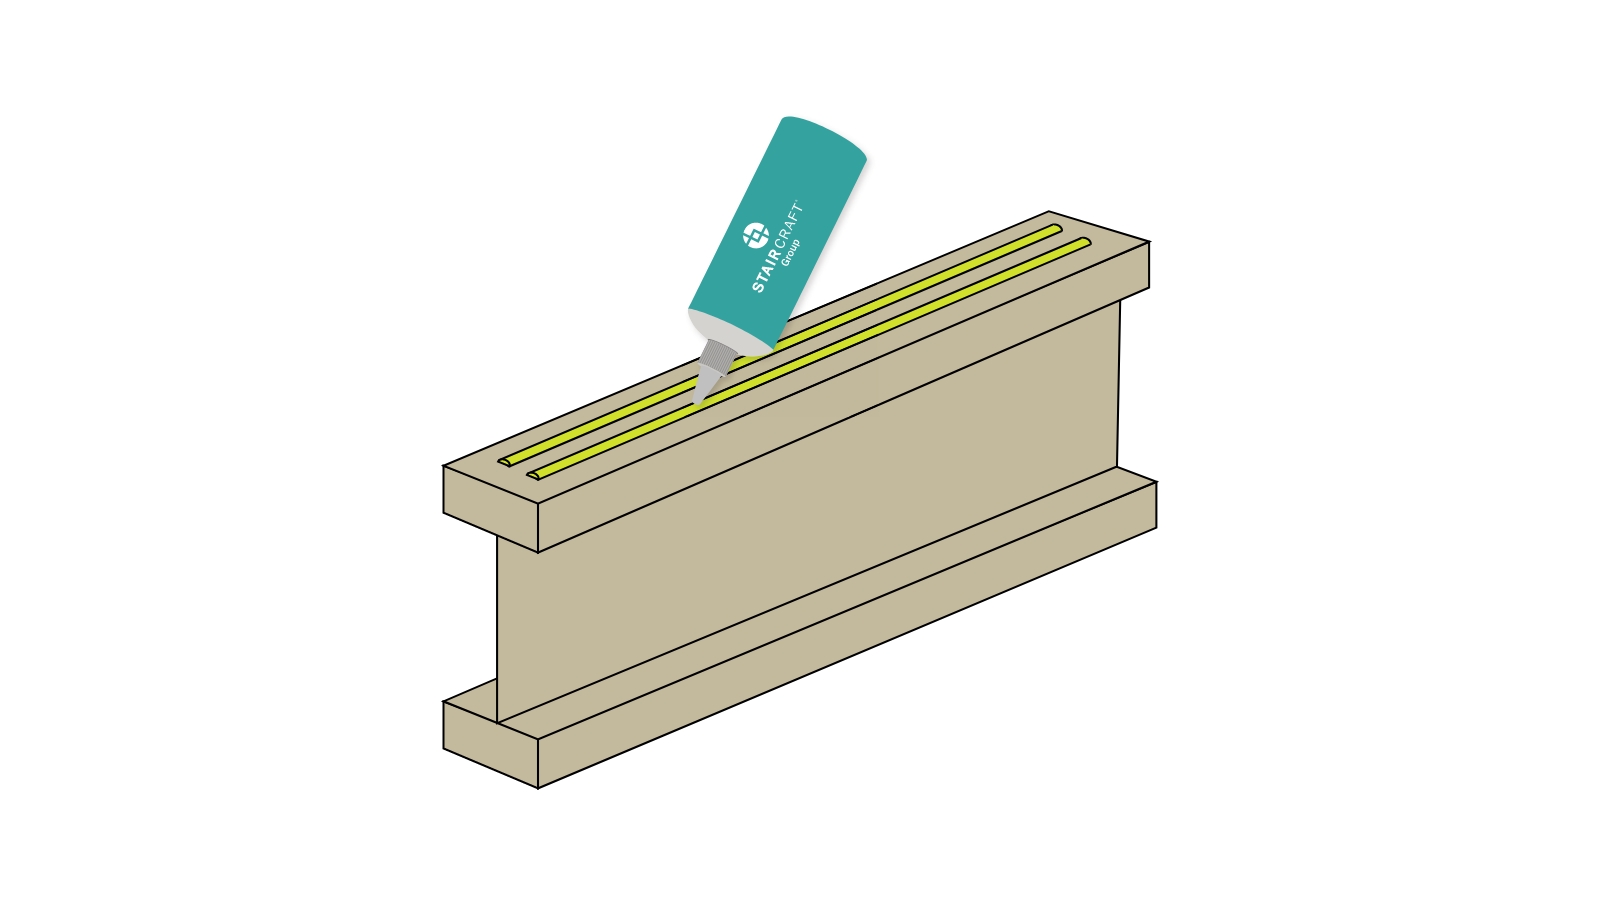
Apply 2 (approx. 5mm) parallel beads of D4 glue to the top of the joist and any noggings or bracing in the area the decking is about to be laid over.
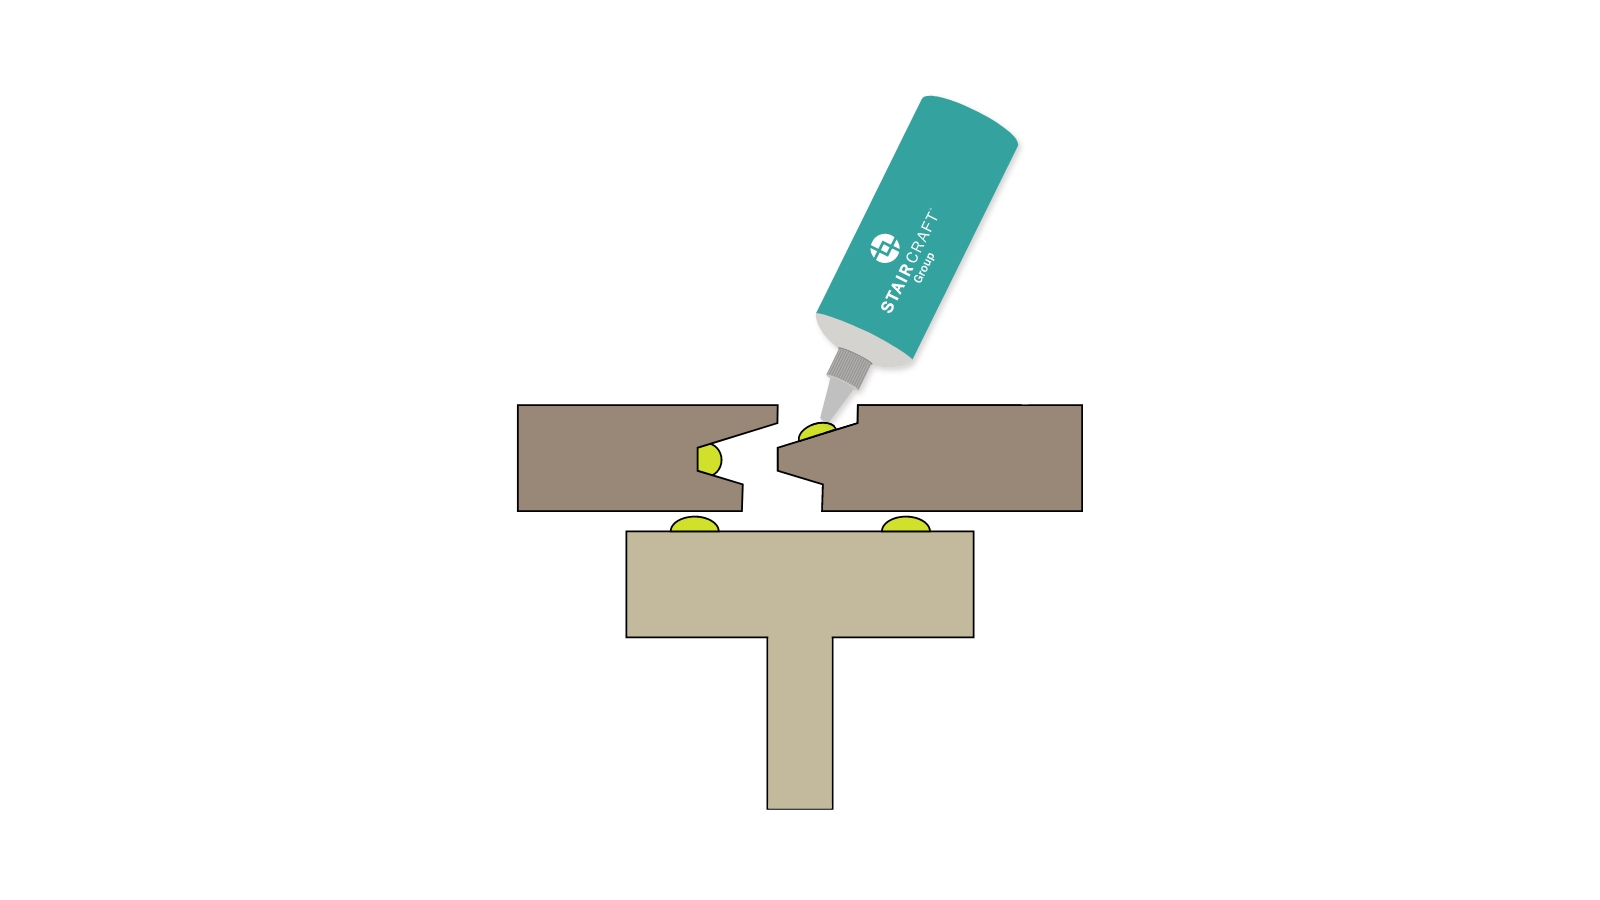
Apply D4 glue directly to the tongue and groove of the profile joint along the entire perimeter length of each board before the boards are butted tightly together. Adhesive should foam out of the board joint. This will enhance the weather protection of the joint. Excess adhesive should be left to dry. Any joints where the adhesive has not appeared to foam must be sealed using additional adhesive by applying a bead of glue to the joint from above.
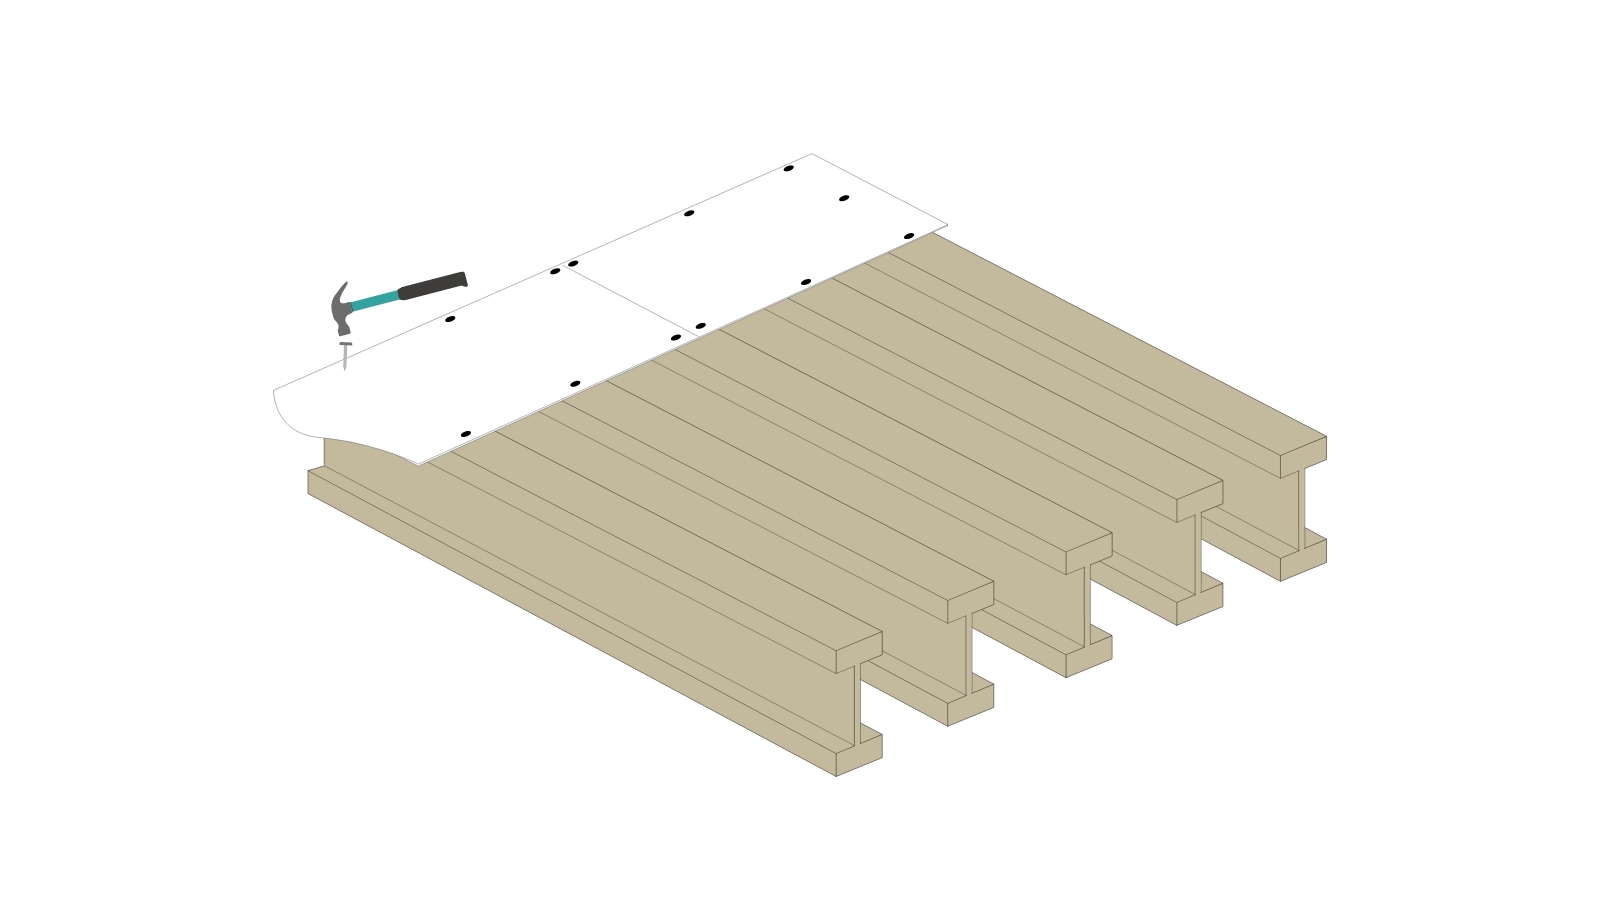
Lay the first row of boards across the joists and fix with x2 nails (min 3x65mm) or x2 screws (4x60mm) per joist approx.10 mm from the joint edge, and one additional nail or screw along the short perimeter edge as shown. All further rows of boards need just 1 nail or screw per joist per board as per point 4 below.
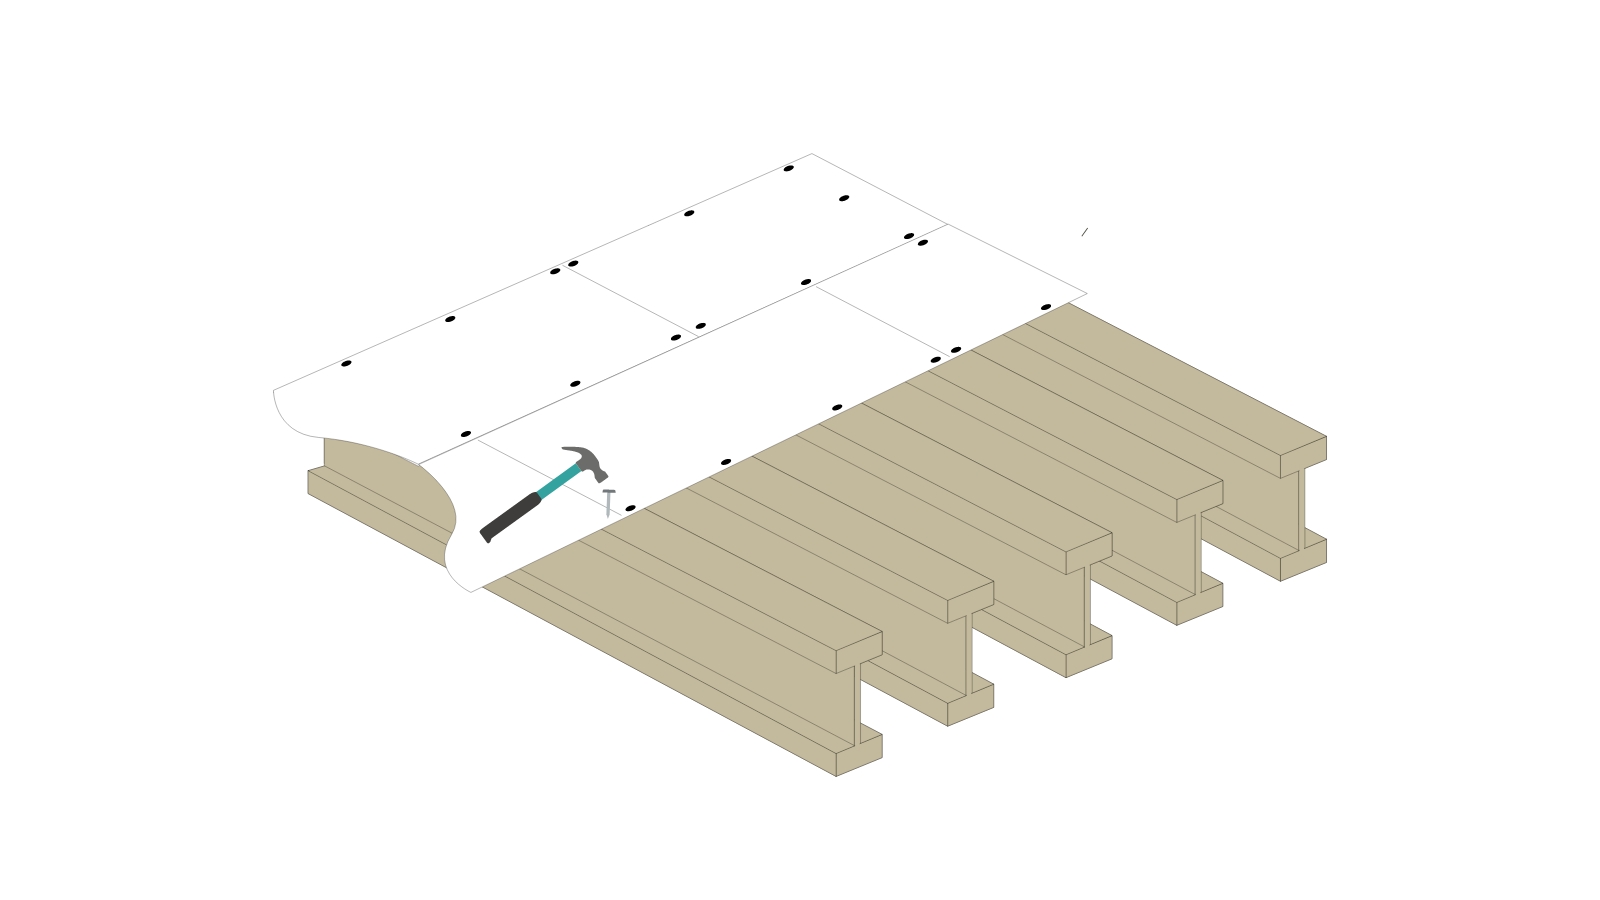
Stagger the new row of boards by a half board to form a brick bond laying pattern and use min 1 nail or screw fixing per joist per board. For every short end board an additional mechanical fixing is needed. Boards should always extend past the last joist to a maximum overhang of 75mm and should stop a minimum of 10mm from any external blockwork to allow an expansion gap.
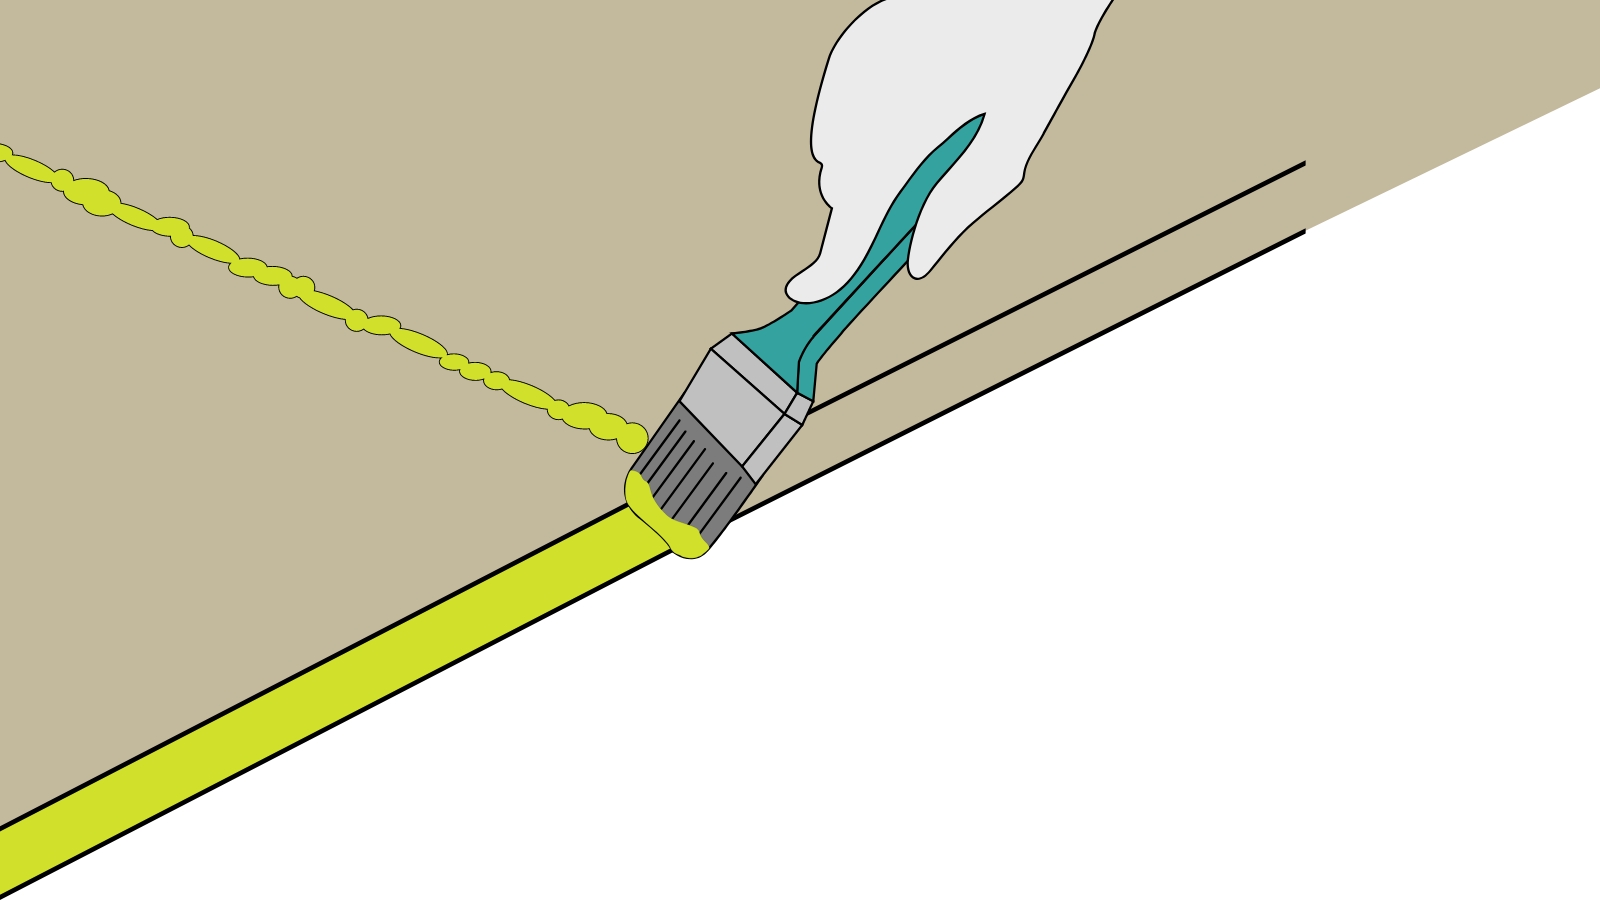
Seal any exposed mechanical fixings, perimeter edges, cut edges and stairwell opening edges using adhesive. Once the building is watertight, excess adhesive can be removed with a scraper.
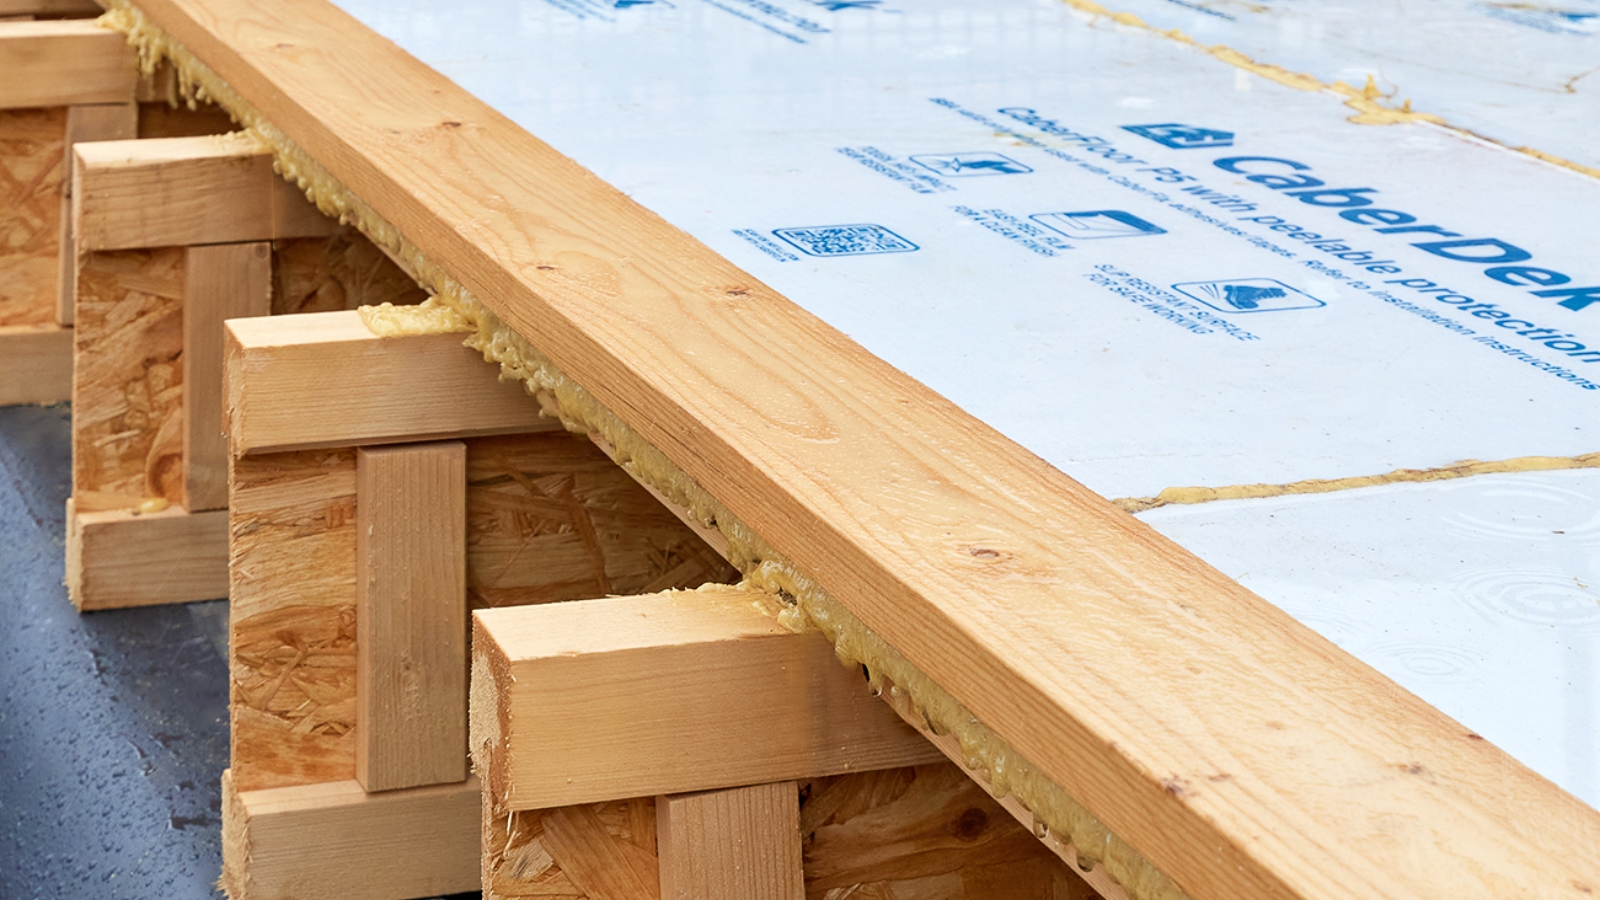
The below fixing details should be read in conjunction with the relevant Board Manufacturers Guidance.
For the maximum time boards can be exposed to the elements please check with the relevant Board Manufacturer
